Corel Draw 12 Tool Box Notes
Working with lenses and effects in Corel® PHOTO-PAINT™ X6
by Suzanne Smith
In this tutorial, we'll explore the many benefits of victimisation lenses and masks to make image adjustments. We'll also look at how to create special tonal personal effects.
Working with lenses
Lenses, which are the equivalent to modification layers in Photoshop®, let you trailer special effects and image adjustments without permanently altering the pictur's pixels. You can apply lenses to an whole look-alike operating room to the editable area of a dissemble. If applying a genus Lens to a covert region, you can use the Object Option tool to reposition some the dissemble and the lense within the mental image.
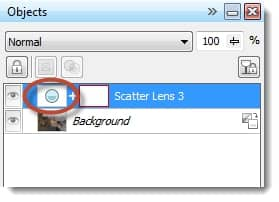
Lenses also offer the advantage of being adjustable on the fly. At some metre, you can double-click the crystalline lens icon in the Objects docker to urinate foster adjustments.
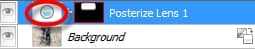
Since a lens sits above the background image along its own layer, you can easily remove an unwanted lens layer aside clicking the Delete icon in the bottom right-hand corner of the Objects docker.
Applying a lens to an image
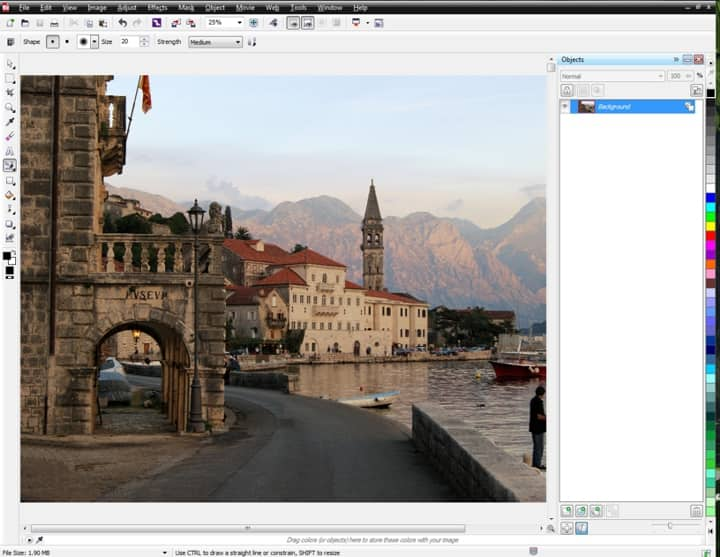
- Click Indian file > Open, navigate to a booklet containing a suitable image, select it, and then click Open.
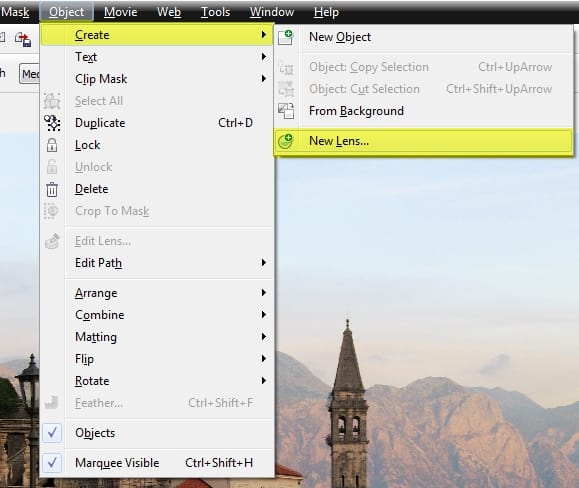
- Click Aim > Make over > New Lens.
- In the New Lens dialog boxwood, choose Scatter so click OK.
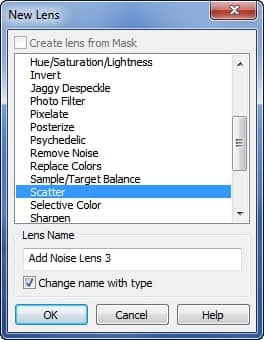
This lens 'scatters' the image's pixels, creating a finished look similar to Pointillism.
- In the Scatter dialog box, experimentation with the Hierarchical and Horizontal sliders until you achieve a desirable effect, and past pawl OK.
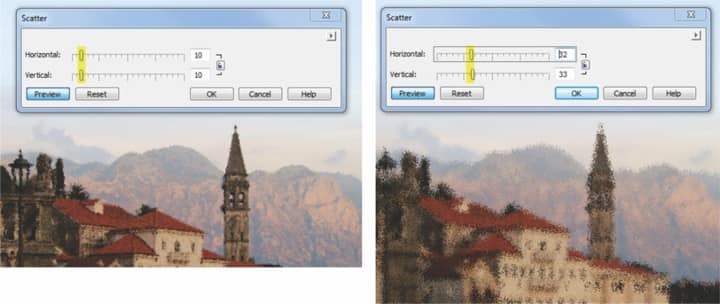
- To readjust the lens settings, equivocal-click the lens icon in the Objects docker, and past make some necessary adjustments in the Scatter panel.
Note: When saving an figure of speech that has had a lens result applied to IT, be heedful that many image file formats wish merge whatsoever extant layers to a individual layer. In this showcase, the lens effect will no longer be editable when the image is reopened. To keep back the editability of a crystalline lens, save the file first in CPT format which will retain the bed social system. You can so export out again in the required image format, such as JPEG, PNG, BMP, etc.
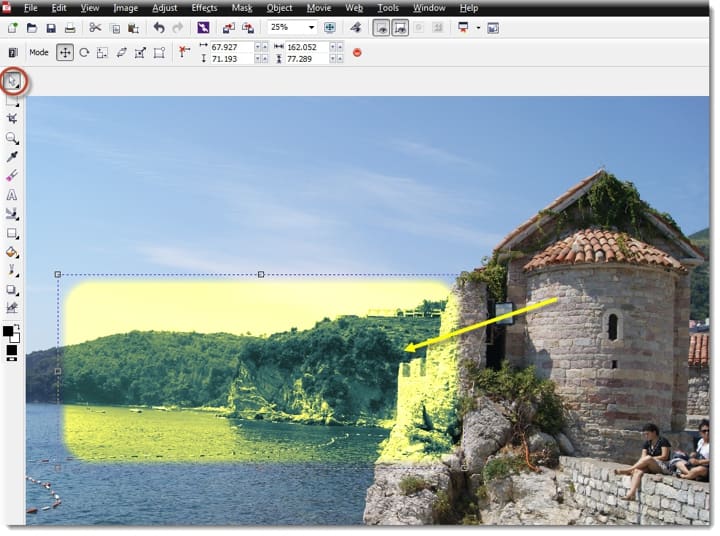
Applying a lens to a masked area
- Open an double.

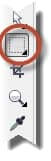
- In the toolbox, click the Rectangle Mask creature, and then drag to draw a rectangular cloak happening an area of the image.
Bank note: Before drawing the dissemble, you can adjust its corner embonpoint on the property bar.

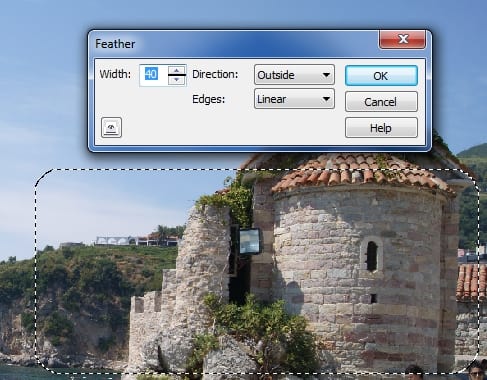
- To hold the mask a softer edge, click Mask > Mask Outline > Feathering.
- In the Feather dialogue box, adjust the number in the Width box, choose Outside from the Direction listing corner, choose Linear from the Edges listing corner, and then click Very well.
Profit-maximizing the pixels in the outer edge of the masquerade party will soften the conversion between the masked area and the background image.
- Come home Object > Create > New Lens. In the New Electron lens dialog boxwood, take note that the Create lens from Mask option is now automatically enabled.
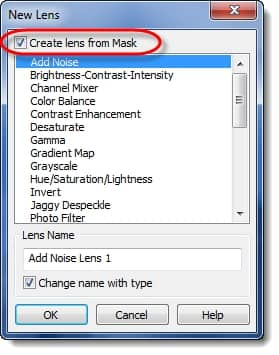
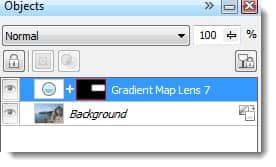
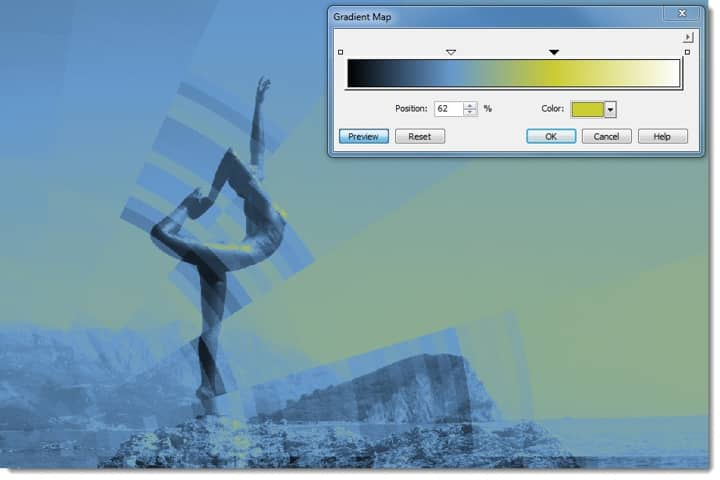
- Choose Gradient Map and then dog Very well.
The Slope Map electron lens allows you to apply gloss to a non-white-and-white image, or to change the colors in a color persona.
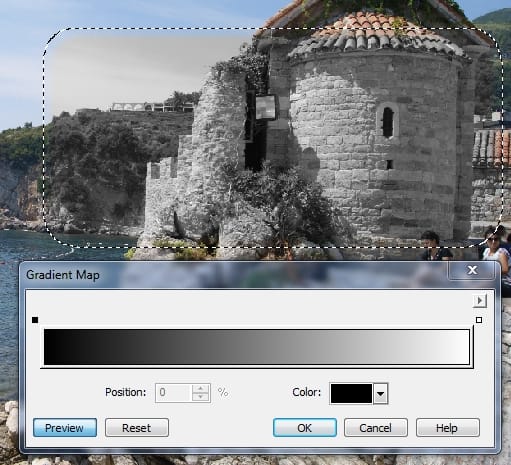
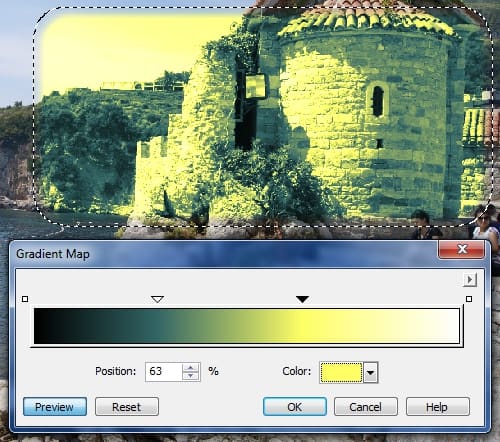
- In the Slope Correspondenc dialog box, double-click the upper berth edge of the gradient panel to create an extra color marker, and then choose a freshly color from the Semblance number box.
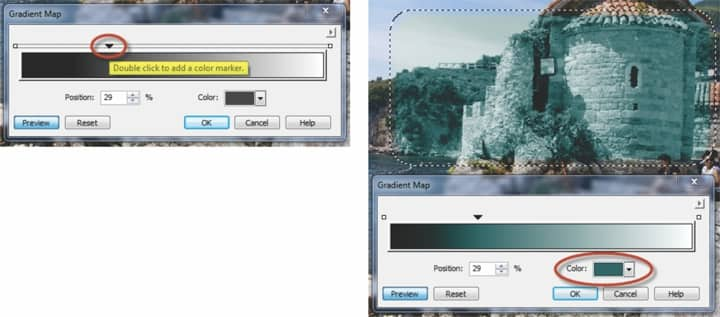
- Cover adding much colorise markers as needful, so click OK.
- To reposition the mask (and lense), click the Object Pick up tool and then just drag the mask to a new spot.
- To readjust the lens itself, click the lens icon in the Objects docker.
- In the Slope Map dialog boxful, adjust the colors again and past get through Alright.
Applying bigeminal lenses
You can 'stack' lenses on top of each other to create some amazing personal effects.
- Open an effigy.
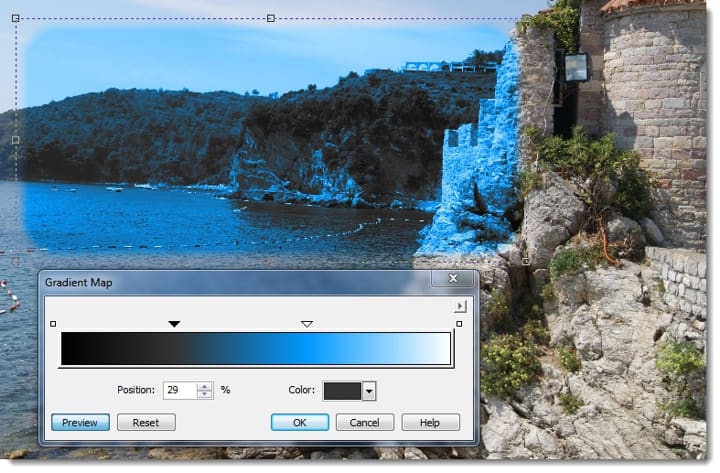
- Click Object > Make over > Late Lens.
- In the New Lens panel, choose Photograph Filter and then click Sooner State.
- In the Photo Strain dialog boxwood, use the Density slider to adjust color density and then click OK. If preferable, you can also variety the filter color by choosing a new swatch from the Discolour tilt box.
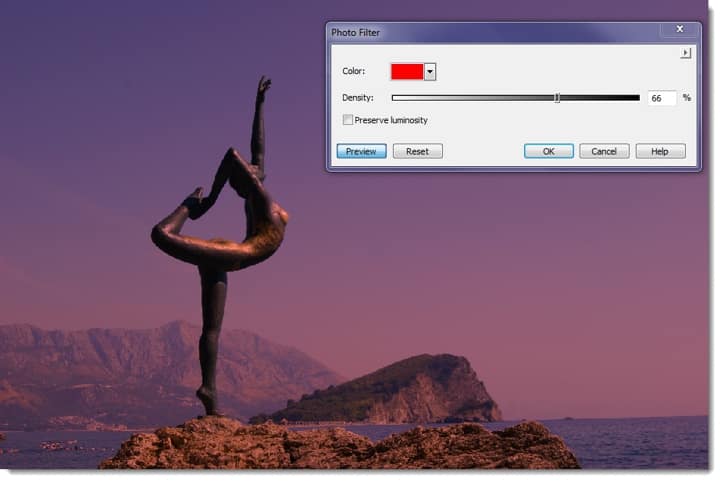
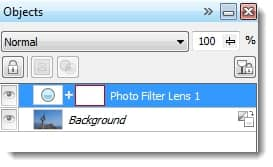
The lens today appears on its own level in the Objects docker.
- Repeat step 2 and in the New Lens system panel, choose Pixelate and then click OK.
- In the Pixelate dialog box, enable Symmetrical in the Pixelate mode arena, click the Point of Origin icon, and so click in the lower left corner of the image window.
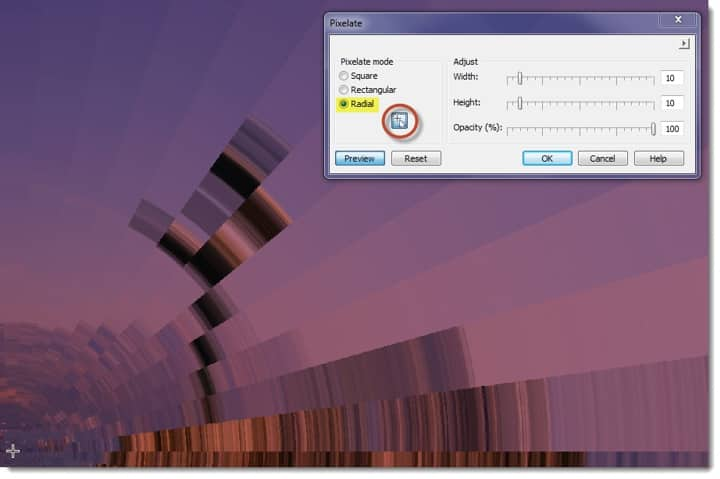
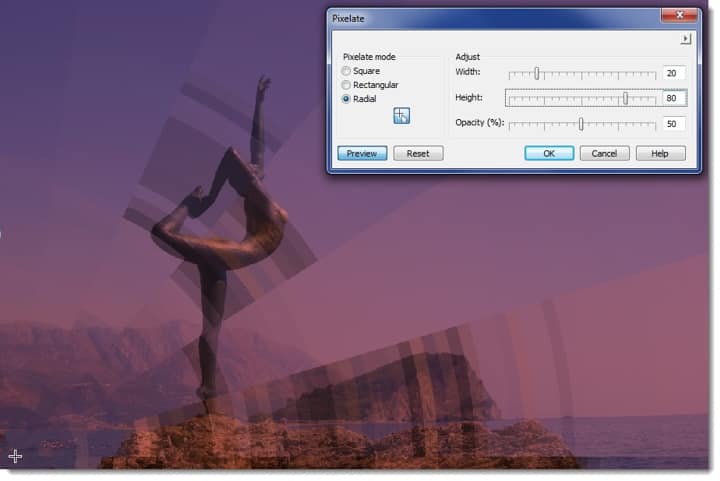
- Adjust the Breadth, Acme, and Opacity settings until you are satisfied with the effect, then click OK.
- Repeat footfall 2 again and in the New Lens dialog box, pick out Gradient Map and so click Okey.
Refer to the previously completed Applying a lens to a masked area for a refresher happening how to adjust the Gradient Map settings.
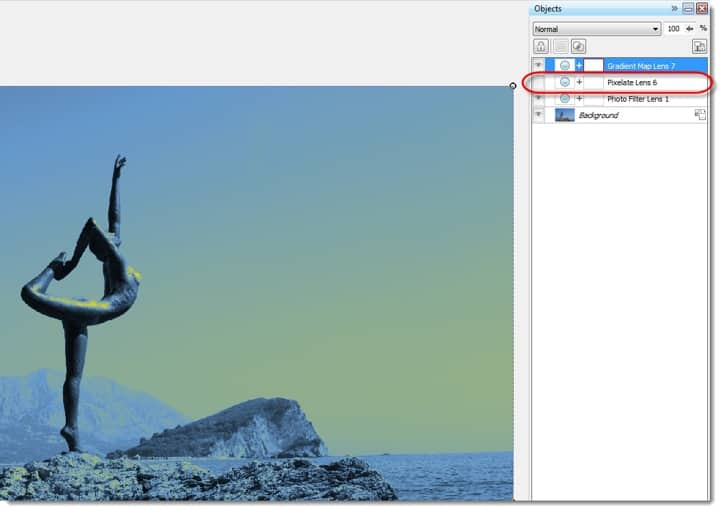
In the Objects docker, note that all 3 lenses ingest been stacked, one above the different on discriminate layers.
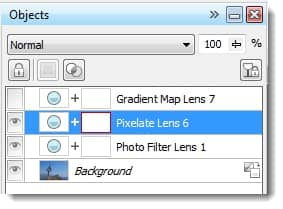
By mixing and matching septuple lenses, information technology's possible to produce abstract and unexpected effects. For example, you can skin singular lens layers by clicking the Hide out/Show icon next to a layer.
The stacking order of lens layers can also possess a great impact on an effect. Here, the Gradient Represent Lens layer has been dragged to the bottom of the stack, resulting in a hammy effect.
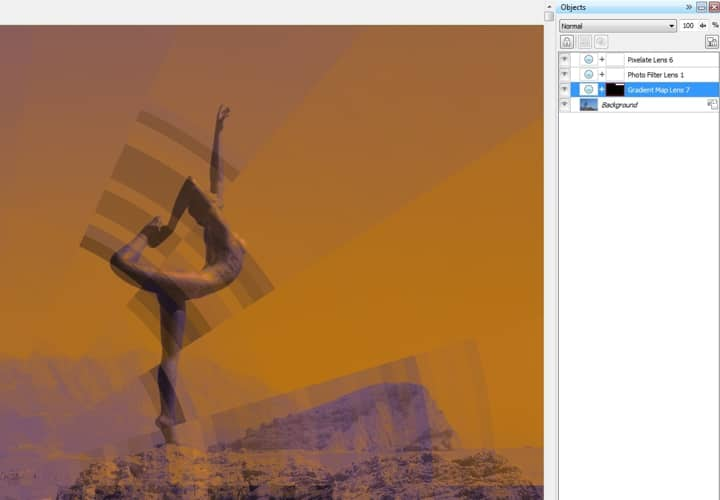
Billet: To discard whatever unwanted lenses, simply select the lens bed and then click the Delete button in the nether, right-hand corner of the Objects longshoreman.
Working with effects
With Corel PHOTO-PAINT X6, there are various options for applying tonal and special personal effects to images. You can function the Effectuate tool to perform local anaesthetic color and tonal corrections. The Set up tool is grouped within the Brush Tools flyout in the toolbox.
When you prime the Effect tool, the belongings bar displays additive effect brushes, including:
- Smear
- Smudge
- Brightness
- Contrast
- Hue
- Hue replacer
- Sponge
- Tint
- Blend
- Heighten
- Undither
- Dodge/Sunburn

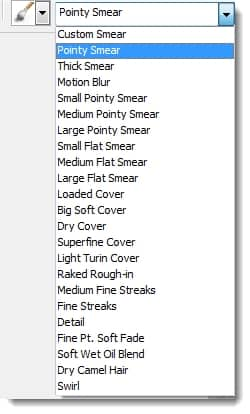
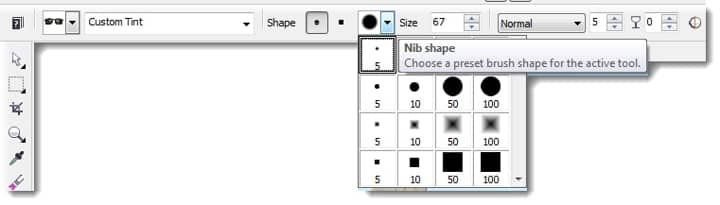
To each one essence brush provides sub-categories of nib shapes. For example, with the Smear Consequence brushwood, you get access to a miscellanea of nib shapes.
In increase, the material possession bar provides additional options when the Effect tool is active. You can choose a round or satisfying brushwood Mould, adjust thicket Size, specify Coalesce Fashion (which determines how color blends with underlying effigy elements), specify the Amount (or intensity) of the effect, align Opaqueness, As well as on/off switch Opposed-aliasing on or off.

If you apply personal effects to your visualize on a prevailing basis, you may incu it convenient to include the Effectuate Tools toolbar in your PHOTO-Rouge workspace.
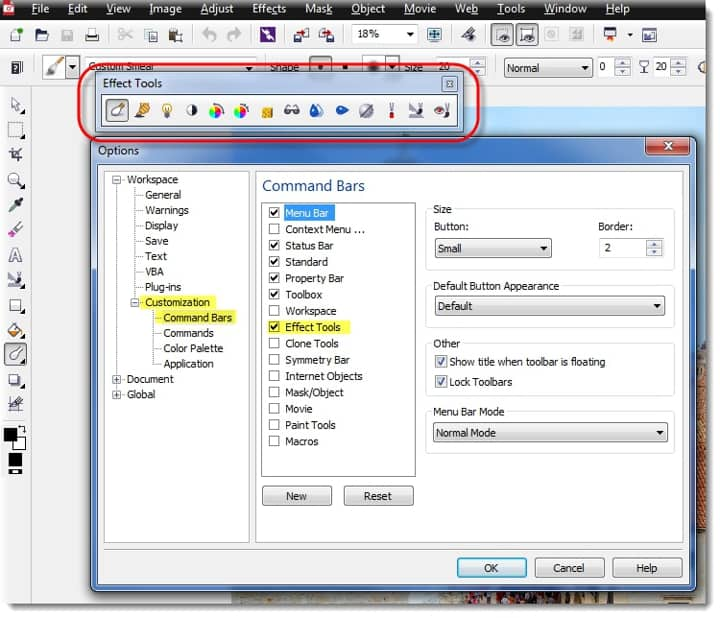
To open the Effect Tools toolbar
- Click Tools > Customization.
- In the Options duologue box, click Customization > Command Bars.
- In the list of Command Bars, enable Effect Tools and and so chink OK.
You can leave the Effect Tools toolbar floating in the workspace or drag it to a dockage position.

To use an impression victimization an Effect brush
- Open an image.
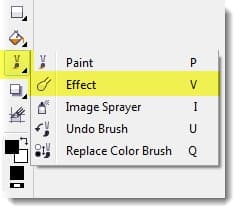
- In the toolbox, click the Paint tool flyout arrow and choose the Effect tool.
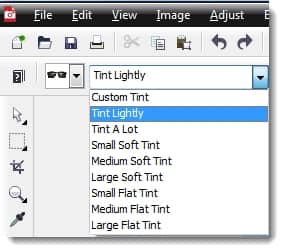
- Along the material possession bar, pick out Tint from the Brush category number box.
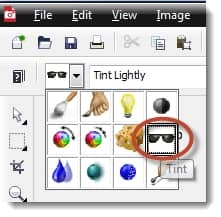
- Take Tone Lightly from the Brush character list loge.
- Choose a nib Shape and Size.
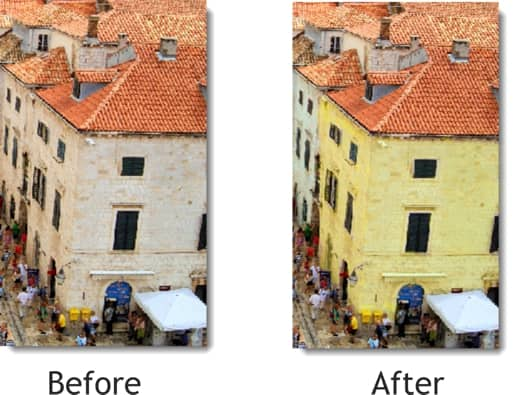
- Click a color swatch from the gloss palette, and then start applying your tint to the icon.
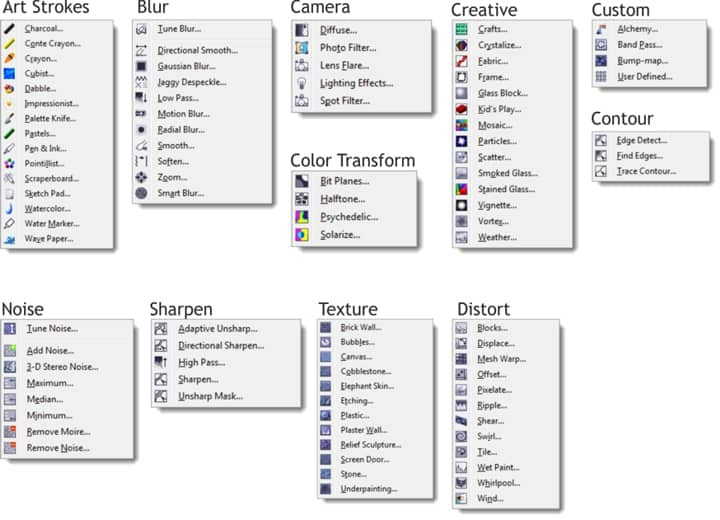
Exploring the Effects menu
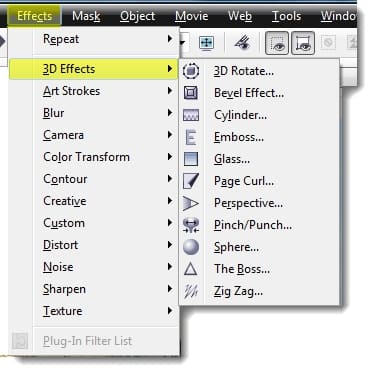
Additionally to applying an effect to a particularized area by victimization one of the Set up brushes, the Effects menu offers a wide range of effects that can be applied either to the entirely image, operating theater, to the editable area of a mask.
The following categories of uncommon personal effects are available, each of which includes various different effects:
| |
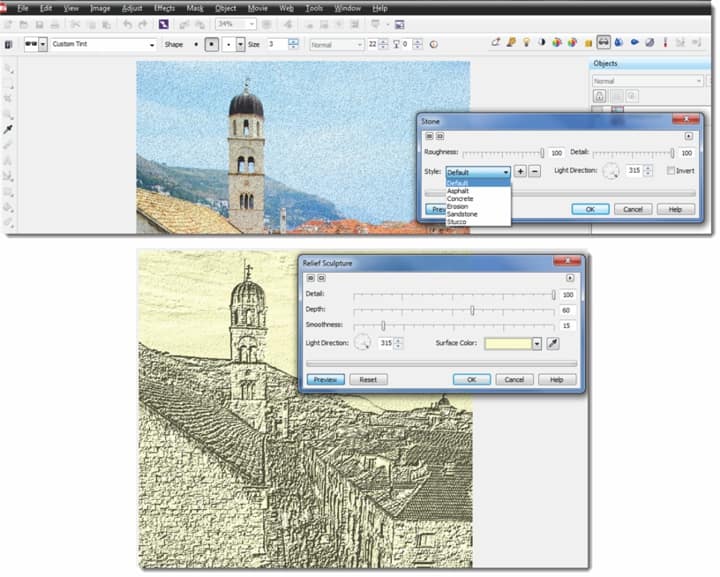
Applying an effect from the Effects menu
- Expressed an image.
- Get across Personal effects > Texture, then opt either Stone or Relief Sculpture.
- In the respective dialog boxes, adjust the settings until you are contented with the effect(s), so click Oklahoma.
Note: Just like the lens effects practical at the beginning of this instructor, when you apply a masquerade party to an image, any effects are applied within the editable sphere of the mask.
For more information on Corel® PHOTO-PAINT™ X6
The Help card provides approach to additive information along functional with lenses and effects, as wellspring as:
- Help topics
- Guidebook
- Instructor videos
Additional Corel PHOTO-Rouge tutorial videos can be plant in Corel's Find Center.
For written tutorials, please click here.
For CorelDRAW® Nontextual matter Suite Tips & Tricks, please click here.
Source: https://www.coreldraw.com/en/pages/items/15100011.html
0 Response to "Corel Draw 12 Tool Box Notes"
Post a Comment